I love spring, I love the cute colours & of course all the chocolate the easter bunny brings. I remember being a kid and being so excited to make easter eggs.. but after a week they were gross and we had to throw them out. This was always very upsetting because I was always so proud of my art work that it felt like such a shame throwing it away.
Now as a 22 year old adult, I still love decorating easter eggs. I’m gonna show you how I made some super cute eggs that can be packed up and saved for next year! These are great for making for kids too, they won’t break if they’re dropped! So let’s get started!
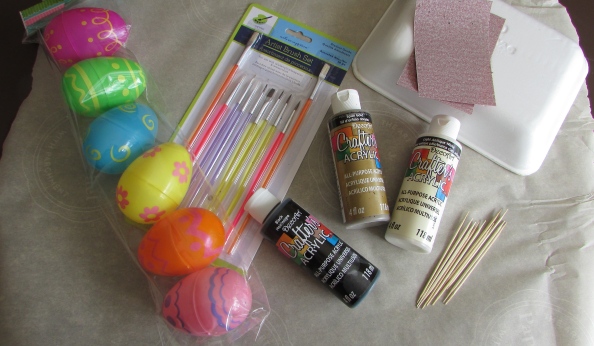
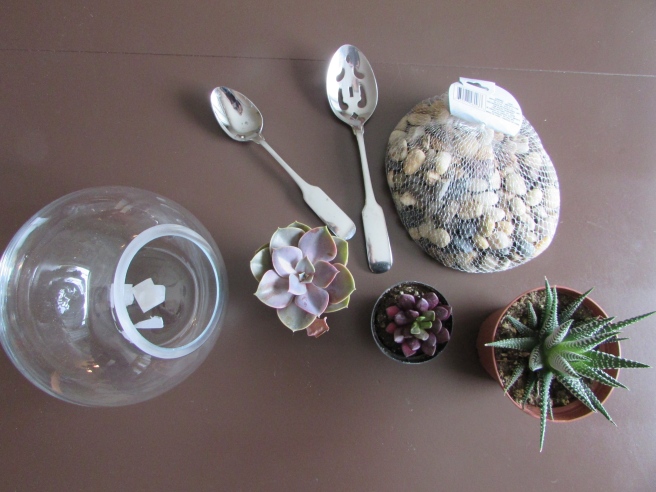
Most of the supplies I found at my local dollar store & at home!
- Plastic Eggs, 6pk $1.25 CAD
- Paint brushes, 1o pk $1.25 CAD (or anything to paint with)
- Any acrylic paint $1.25 CAD each, I choose white, gold & black
- Sand paper *very* important, tooth picks, styrofoam meat container (clean) & paper to protect your table *all this was found at home.
- Glue, I forgot to picture this but any glue will work. I found super glue and used that.


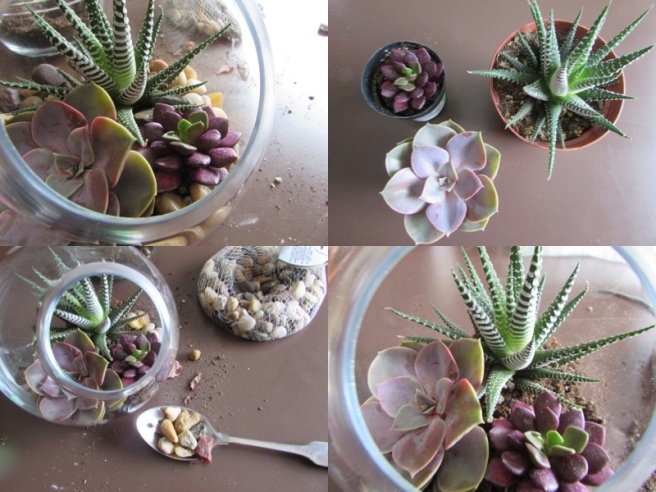
- Step 1: Open up the eggs and glue them shut, this will make sure that they don’t come apart and wreck the design!
- Step 2: This is very important! Sand the eggs so that they are no longer shiny. If you don’t the paint will have a very difficult time sticking to the eggs.
- Step 3: My eggs had holes in the bottom, I took toothpicks and put them through the holes and then placed them in the styrofoam. This was so that they could dry better.


- Step 4: Start painting your base layer, I choose white. My eggs needed about 4 coats of paint in total so this is the boring part. If making these for kids I suggest doing this before hand so they are ready for them to paint right away!


- Step 5: This is the fun part, painting your pretty little eggies! I choose black & gold for my designs. You can do dots, stripes, chevron, cute sayings or anything you want. The possibilities are endless! Using some white glue and glitter would be super cute as well! I usually use glitter for everything but I wanted to keep these eggs simple.


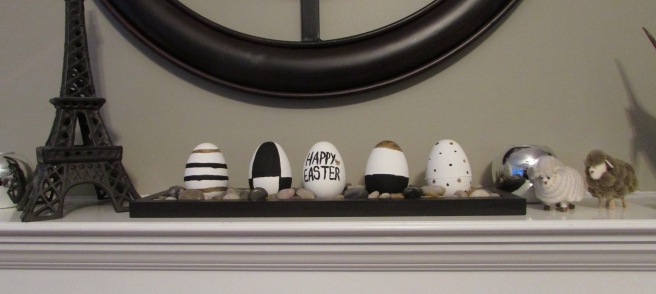
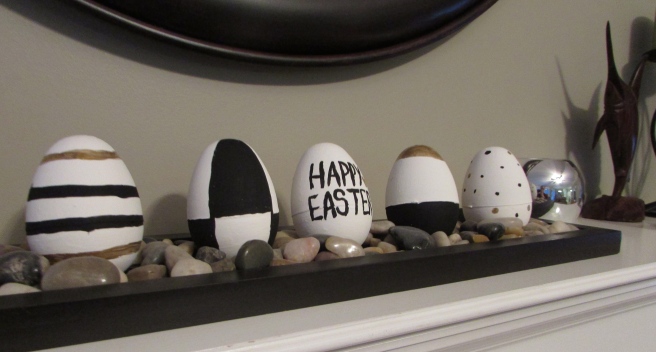
These were the designs I did for my eggs! I loved the gold & black on the white. I found it very classy and almost “Kate Spade-Esque” I let these sit over night to make sure they were 100% dry before moving them. If you wanted a shiny finish you could defiantly spray them with some clear paint spray or sealing spray. I like the matte look personally.
I am so in love with the end result! These are so cute & so easy to make. I hope you all have a great easter weekend and the easter bunny brings you lots of chocolate!